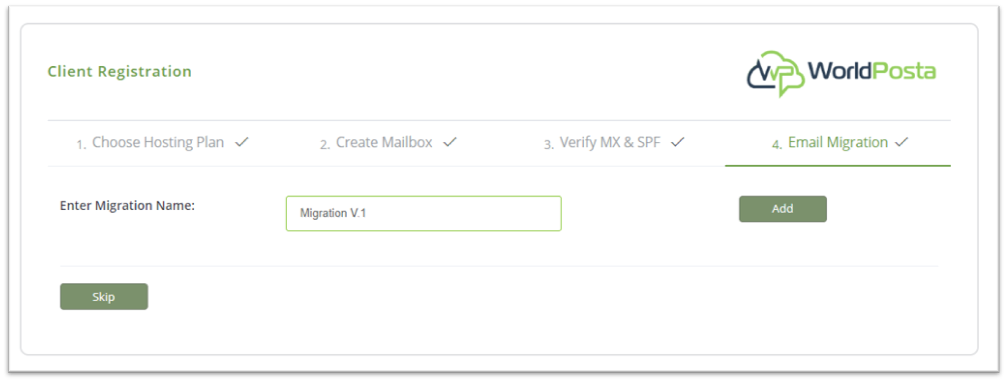
Now it’s time to migrate your data to your new emails (skip this step if you don’t have old data).
– Enter a name for the migration then click on “Add”, now You can either do it for a single user or for multiple users.
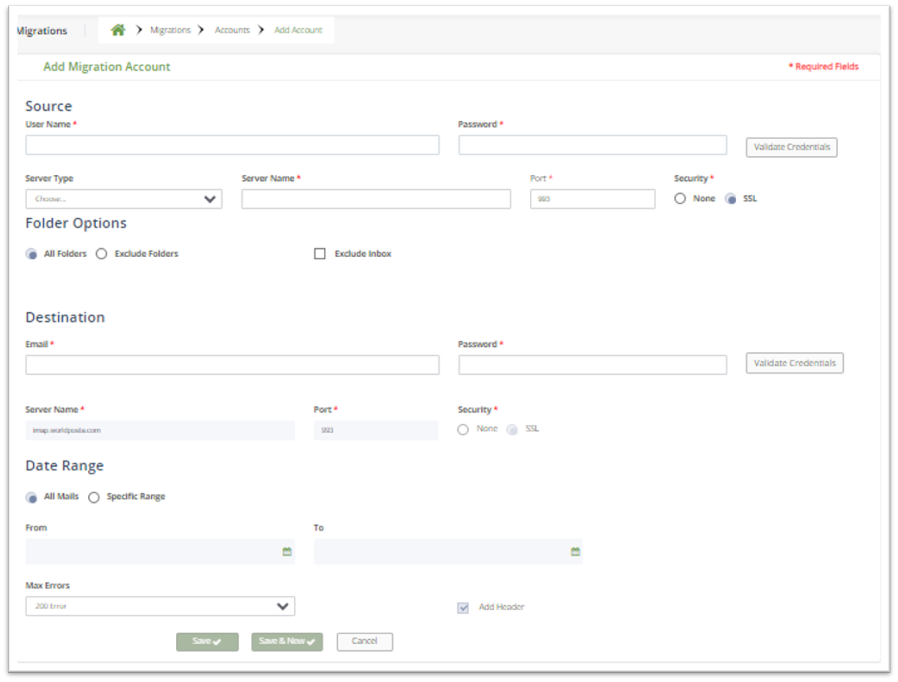
– To migrate a single user, click on “Add Account”.

You will be redirected to a page that asks you to add Source and Destination emails. After filling the requested data, click “Save”.
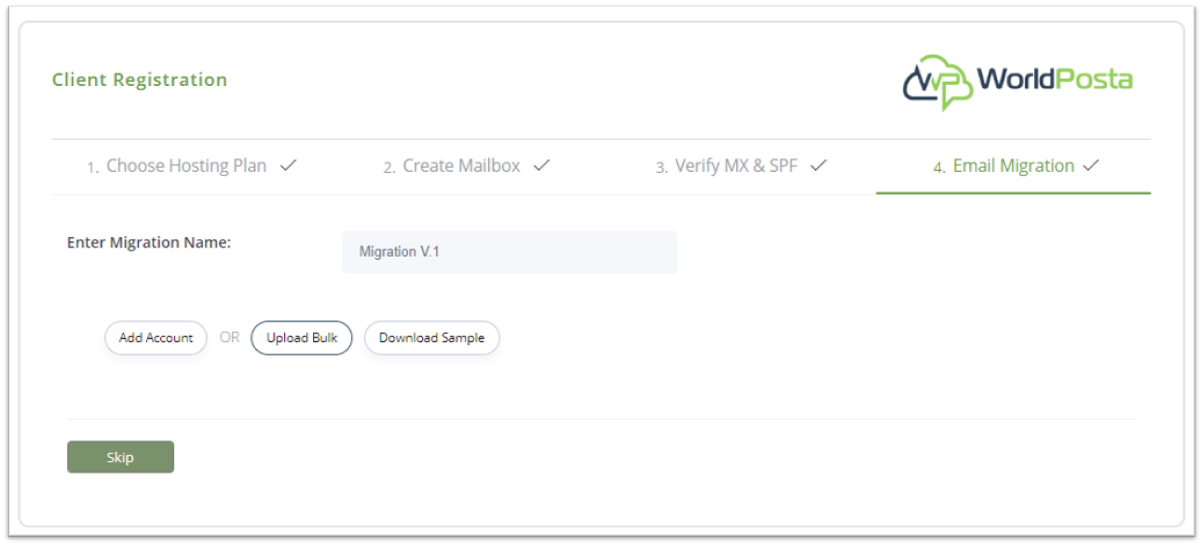
– To migrate multiple users just click on “Download Sample”.

This will download an excel sheet which you will need to fill out with data like Source email and password and Destination email and password.
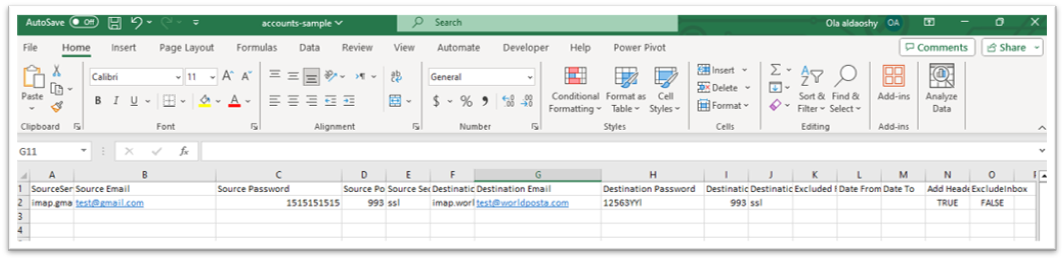
Note: To ensure a smooth and successful migration, please double-check that all your data is entered accurately, with no spaces or typographical errors.
– After filling out the excel sheet, you can now upload it by clicking on “Upload Bulk”, you will now have your email accounts data migrated successfully.
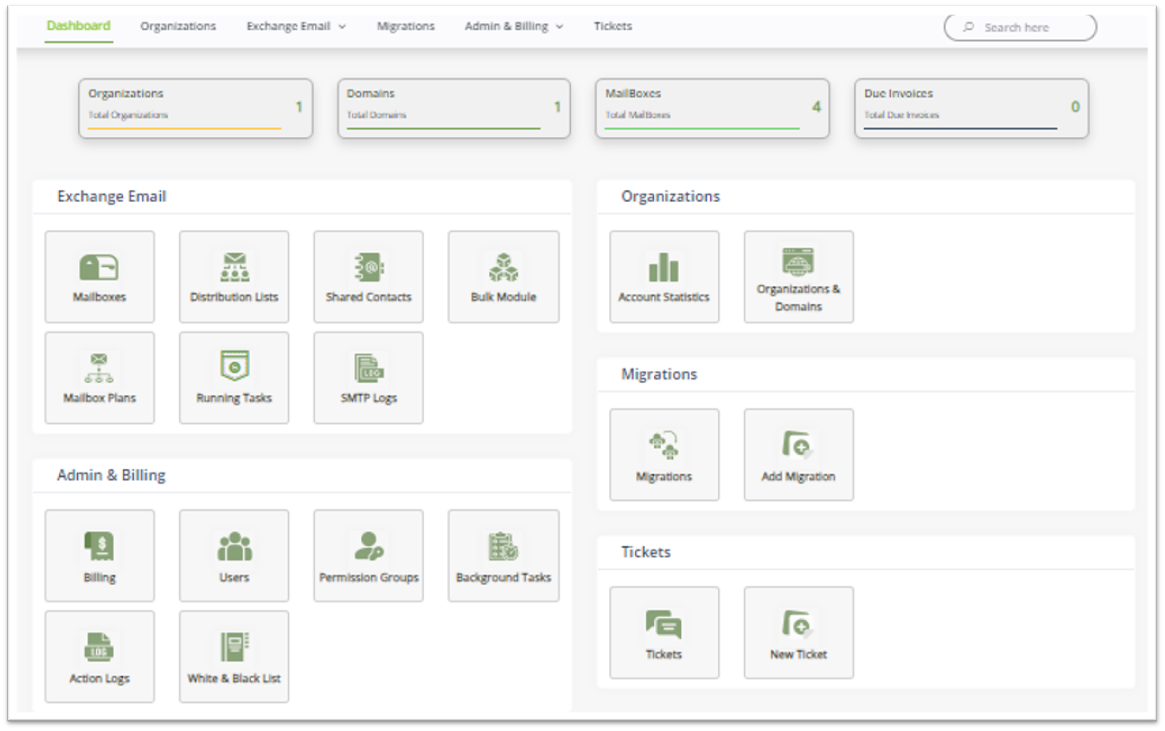
Now that everything is set up, your Admin Tools are ready for use, and you will be able to send and receive emails. Let’s explore their full potential together!
Thank you for your message. It has been sent.
DoneOooops
Something went wrong, please try again
